
How Can We Help?
Setup Veeam Agent for Cloud Connect Backup
Instructions for installing the Veeam Agent and pointing it to a Cloud Connect Repository
A) Install the Veeam Agent (can be downloaded from here)
B) Double click the VeeamAgent installer
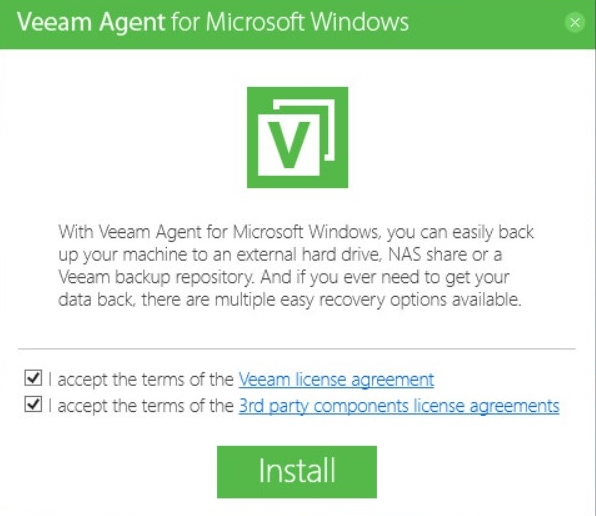
C) Select both of ‘I Accept’ disclaimers, click Install
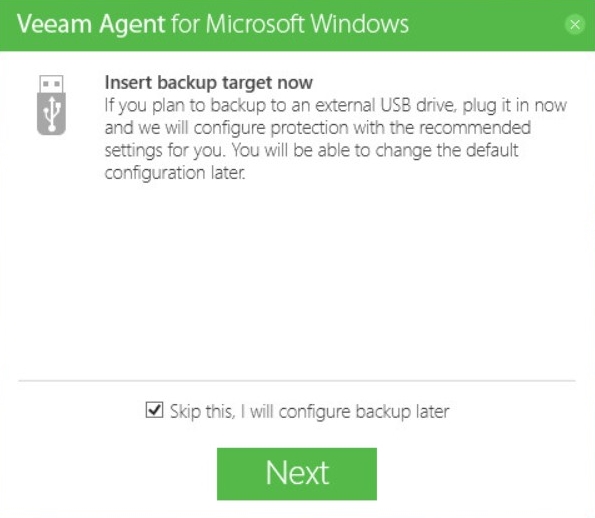
D) Choose to ‘Skip’ the local backup for now, click Next
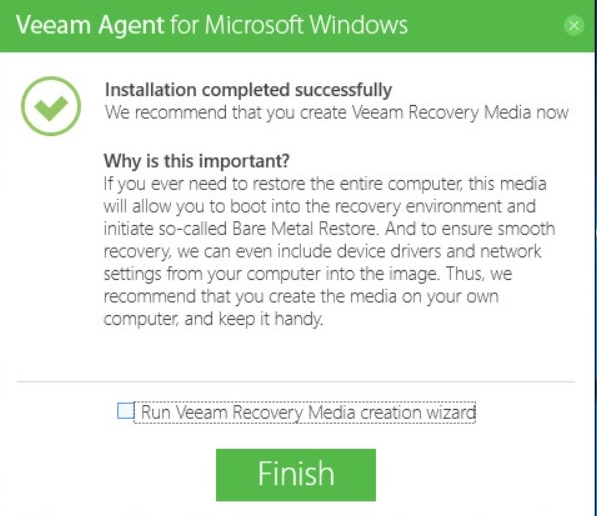
E) Don’t select ‘Run Veeam Recovery Media,’ click Finish
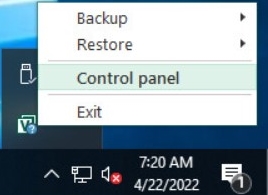
F) Right click the Veeam icon in the bottom right corner of the screen by the clock, choose Control panel
G) Once the application launches, it will ask for a license file, click Yes
H) Click Install
I) Choose the license file that was provided to you by HostedBDR and click Open
J) Choose the option for Server, click Close
K) From the Veeam console click ‘Add New Job’
L) Give the job a descriptive name, click Next
M) Choose what type of a backup you are creating, typically this is the top option of ‘Entire Computer,’ click Next
N) Choose ‘Veeam Cloud Connect repository,’ click Next
O) For the DNS/IP name type in: veeam.hbdr-cloudconnect.com click Next

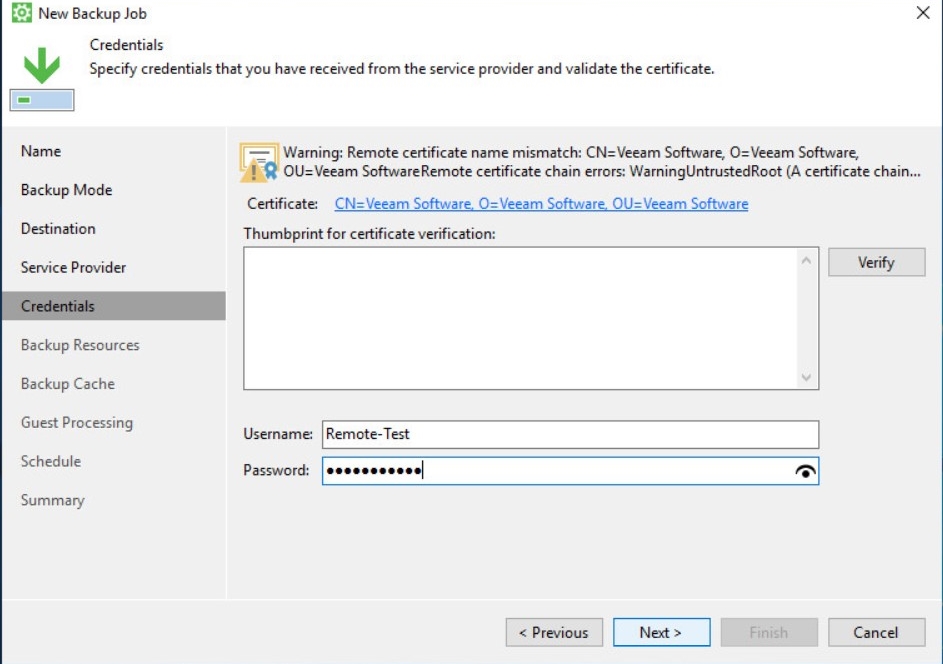
Q) For the certificate click Continue
R) Type in the username/password that you were provided, click Next
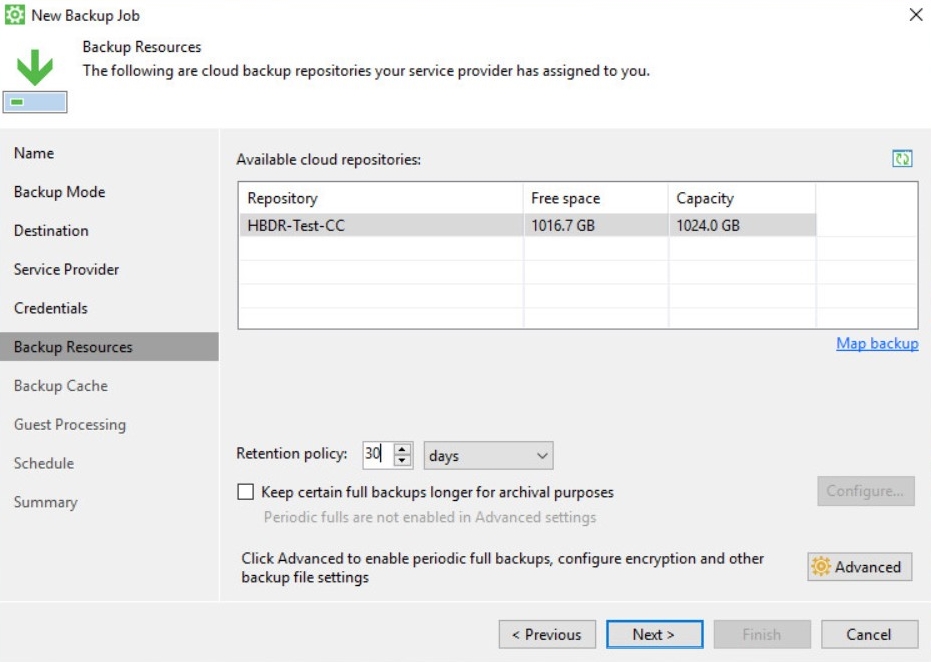
S) The resources that were allocated to you should appear in the application window. Choose your length of retention, click Next
T) For the cache, typically you can just click Next (this setting is largely not used)
U) Leave the Guest processing option at the defaults, click Next
V) Set a schedule for the backup, click Apply
W) Choose whether you want the backup to run immediately or not, click Finish
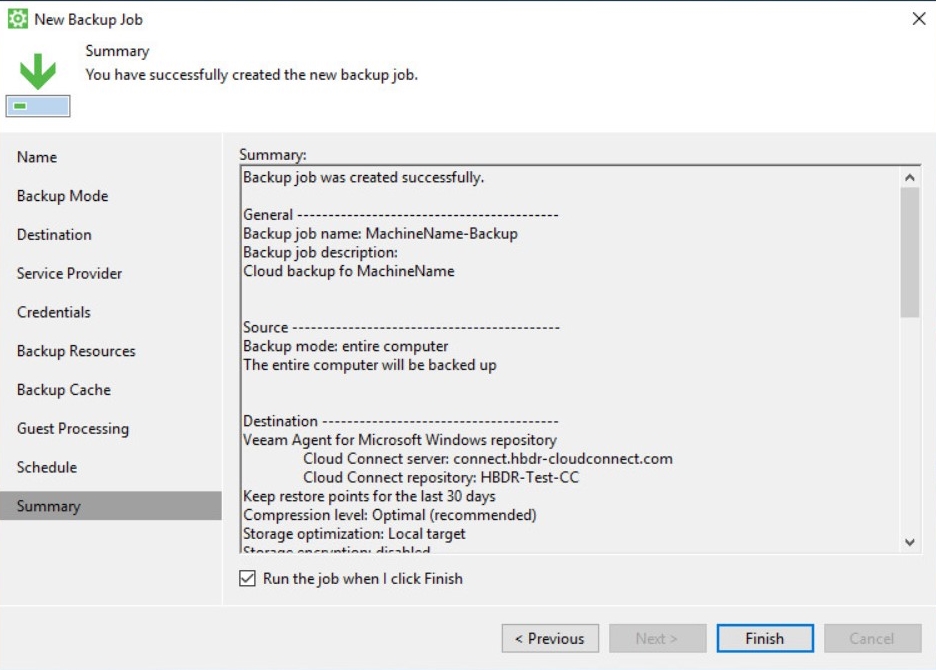
X) All Done